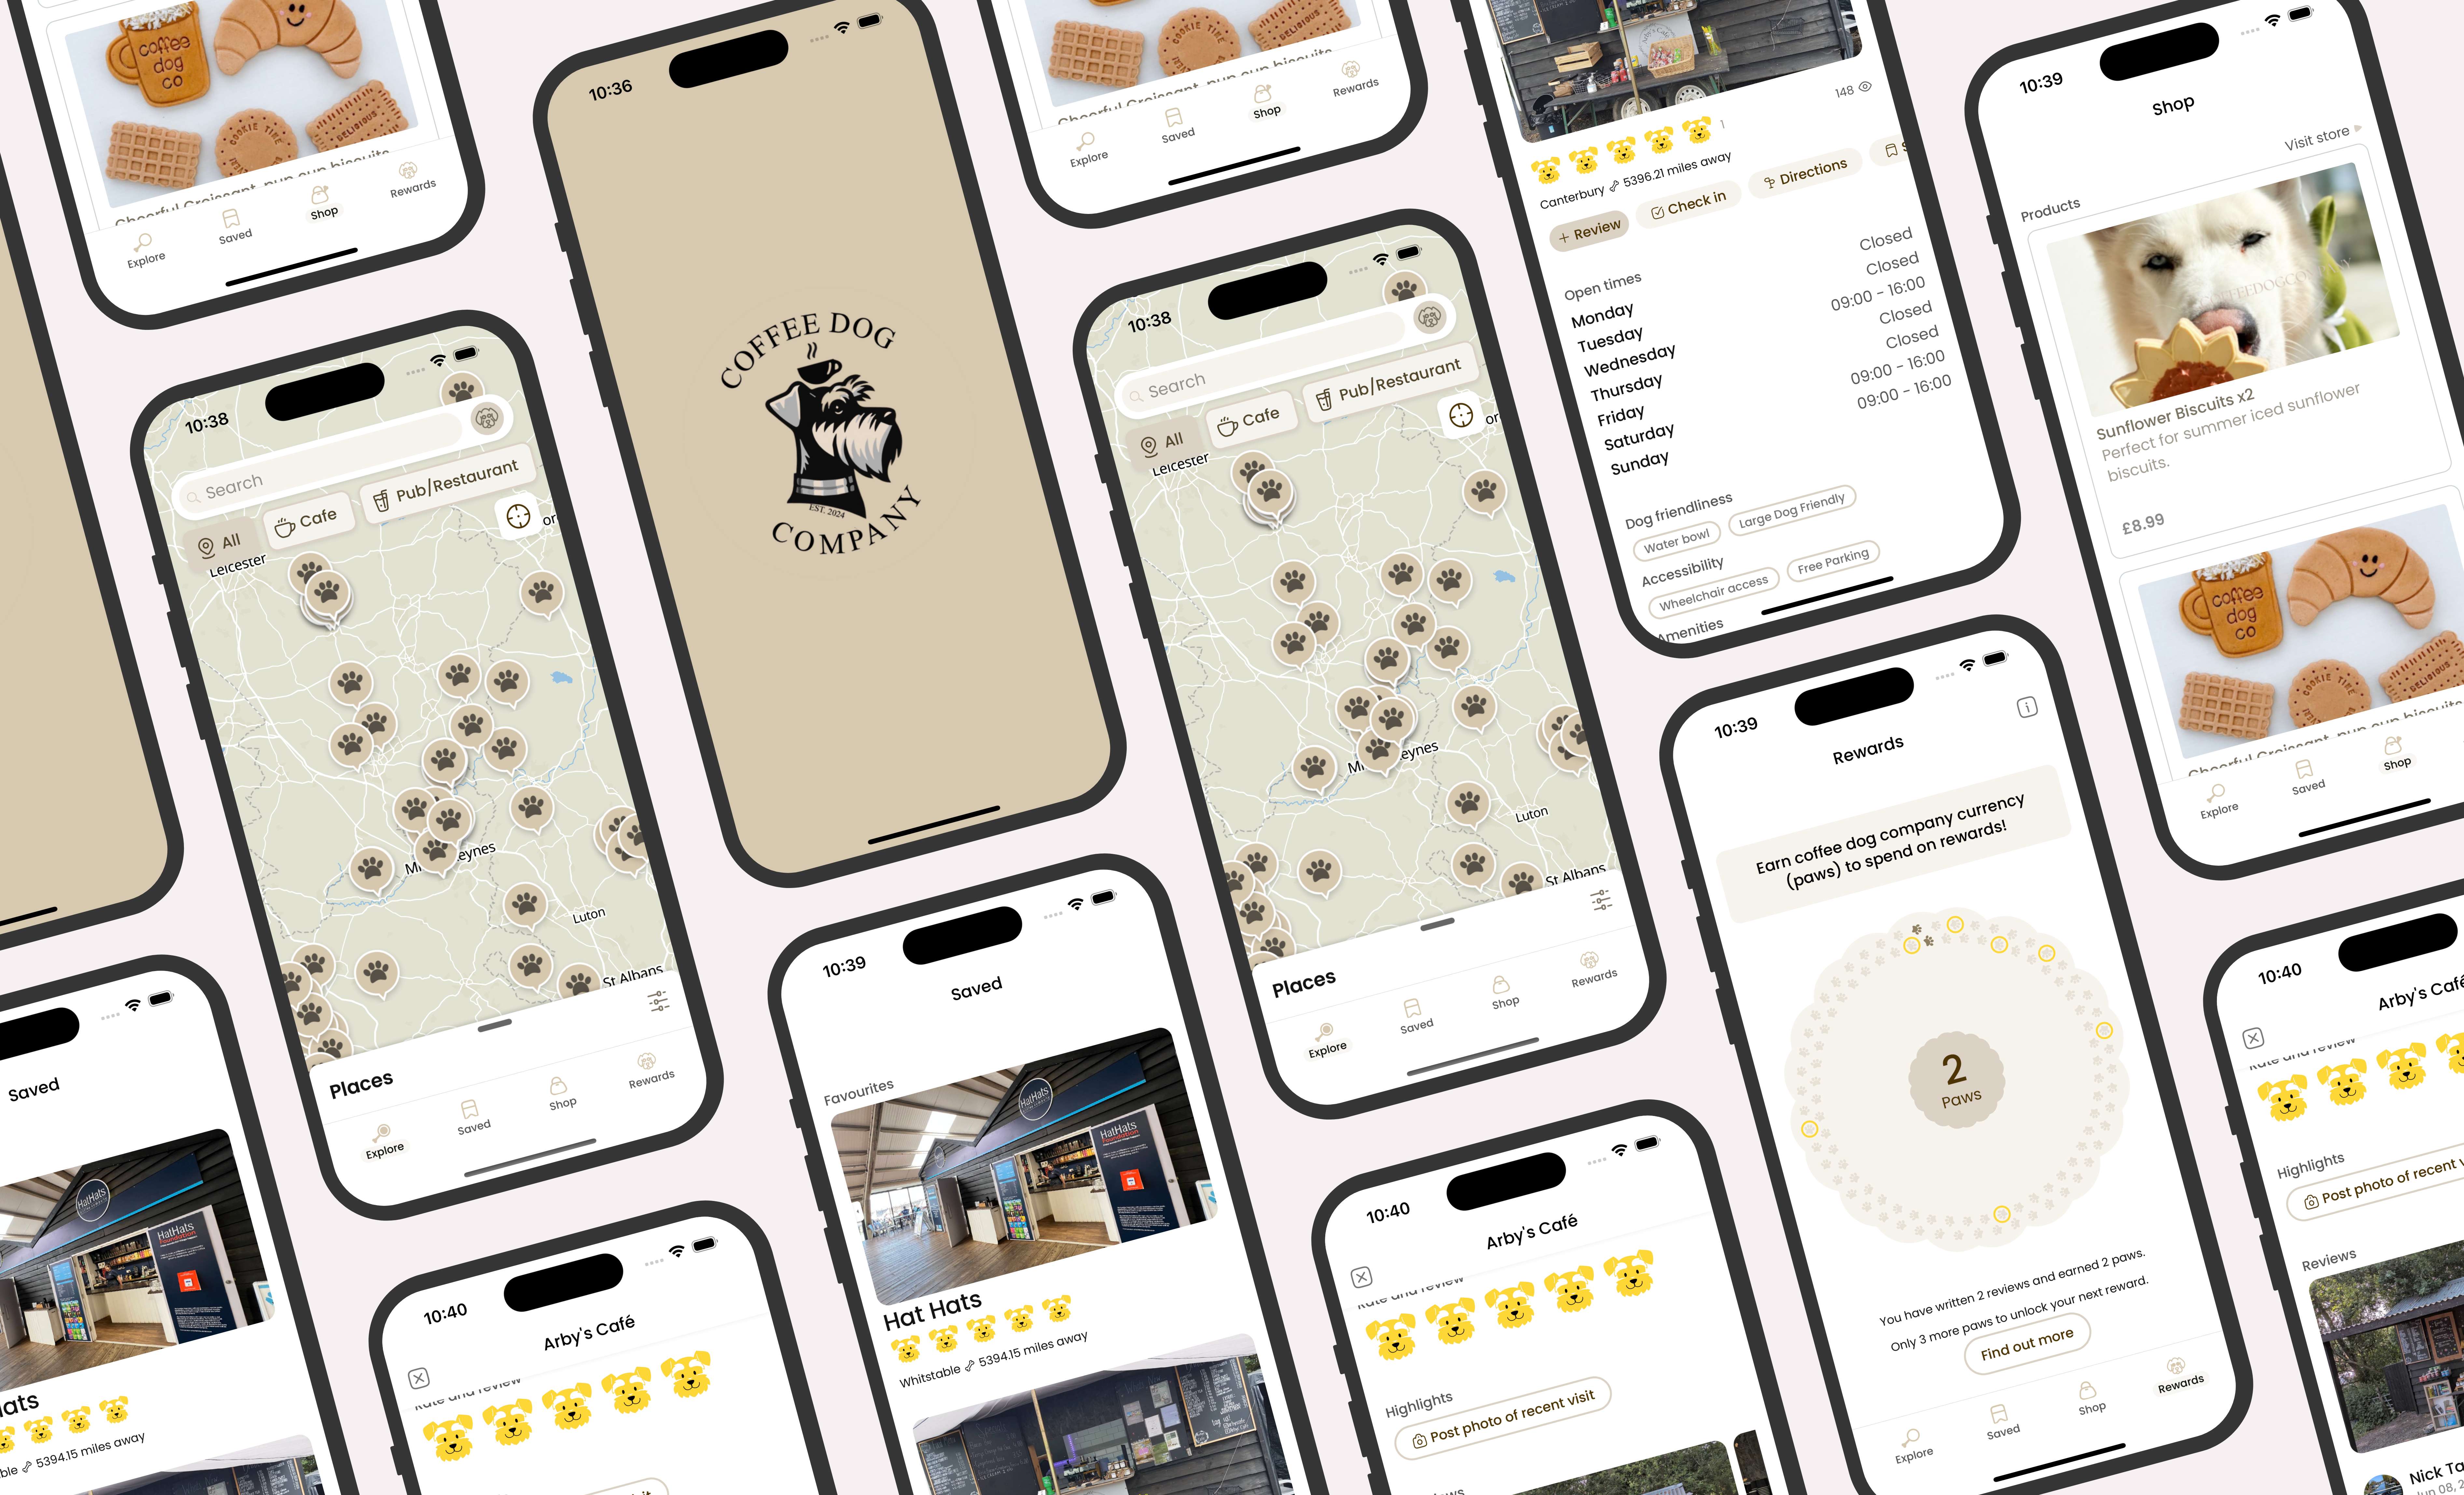
In this article we look at some of the less glamorous tasks needed to make your app launch a success.
A successful launch of an app can have a dramatic impact on the traction it gains with users so it's worth getting right. It's all too tempting to sign off on the app build and simply create an App Store or Google Play profile and release the app. There are, however, some key components that will make the app launch a great success.
1. Pre-launch microsite
You've built an app and are all excited about launching it to the world as soon as possible. What could go wrong?
Before you even finish building the app it helps to have a holding page online to tease users with news of the impending launch. It doesn't need to be complicated and might only feature some basic screens from the app and, of course, a sign up form that lets users be notified when the app is launched.
This micro-site can also act as the long-term web page for the app that search engines can also use to find your app.
2. Speak the right language
Another consideration during the build of the app is what languages to support. Clearly, this is strategic decision that is based on your target audience but it should not be left to the last minute as it takes some time to get the language translation right across different languages. The decision to support multiple languages can have a knock on effect in the App Store or Google Play. Each portal let you present your app in a range of languages so that potential users can better understand what your app does. Both the app description and app screen shots can be presented in local languages. Be warned, these take time to prepare so plan ahead.
3. Make a good impression
You've worked hard on making your app beautiful so the same should be done with your App Store and Google Play profiles. The key components here are your app icon, screenshots and description. You have very little time to make an impression with casual visitors to your app profile so make it count. Keep the app icon clear and informative. Focus on the main app features in the first two screenshots as these are more prominent.
The App Store lets you set five screen shots. Google Play you can have more. Be careful here, as the five screen shots can soon expand to more. There are five screen shots required for each device your app supports. That means that if your app supports iPhone 4, iPhone 5, iPhone 6 and 6 Plus then you already have 20 screen shots to upload. Now, if you also decided to present your app in other languages then you'll need to repeat the process. We recently launched an app in 11 languages which resulted in 220 screen shots! It's not a five minute job to upload them, let along create them so plan ahead!
4. Lead with the facts
The app description should lead with a concise sentence that highlights your apps purpose. In both the App Store and Google Play the description is trimmed at first so most of it is not seen unless a users chooses to expand the text so make the first sentence count.
5. Help people find your app
There are a number of factors that come together to help user find your app. The app's title, description, keywords and popularity all play their part. The app title is very important to get right. It's possible to extend the app title a little to include some guidance on the app's purpose. Take care to keep it consise as longer titles to get trimmed off so some text may not be seen.
Keywords should not be underestimated. You've got 100 characters to pack in some keywords that help users find your app. If you've decided to also present your app in different languages then you should use keywords in the various local languages. It sounds obvious but can be easily overlooked.
6. Launching the app
You've built the app. You've created the App Store and Google Play profiles. You've uploaded the app's screen shots, description and keywords. So now you're ready to submit the app. With the App Store it needs to first be approved by Apple. This process has historically taken 7 - 10 days but recently we have noticed that Apple are approving apps within 2-3 days. With Google Play there is no approval process so the process is much faster. Generally it takes just a few hours for the app to propagate throughout their system and be available to download.
We tend to submit apps for review with Apple first but use the option to manually release the app after it has been approved. This lets us control the release of the app so that both the iOS and Android versions are available to download at the same time. That way you can avoid the "Where is the app for my device?" question.
7. Post-launch
It's tempting to think that once the app has been launched that the work is over but the truth is the work has only just started. From this point on you should be thinking about how you promote the app. A lot of users will stumble across your app in the App Store and Google Play but many more can find it if you promote your app successfully. This boils down to straight forward marketing so that your app gets in front of users outside to the App Store or Google Play. Your pre-launch micro site will come into play at this stage to help promote the app and act as a focus for any social media promotions you choose to do.
8. App updates
As soon as your app is live then keep a close eye on reviews by users. No matter how much testing you may have done during the build you can be sure that by having thousands of people use your app that they will find issues in some dark corner of the app. React quickly with an update to fix any bugs that materialise.
When you're ready to launch an update go through the steps above to fine tune your app's profile in the App Store and Google Play.
We've been through this process time and time again with launches of our own apps and apps we build for clients. There is always more you can do but these key steps should help to make your app launch a success.
